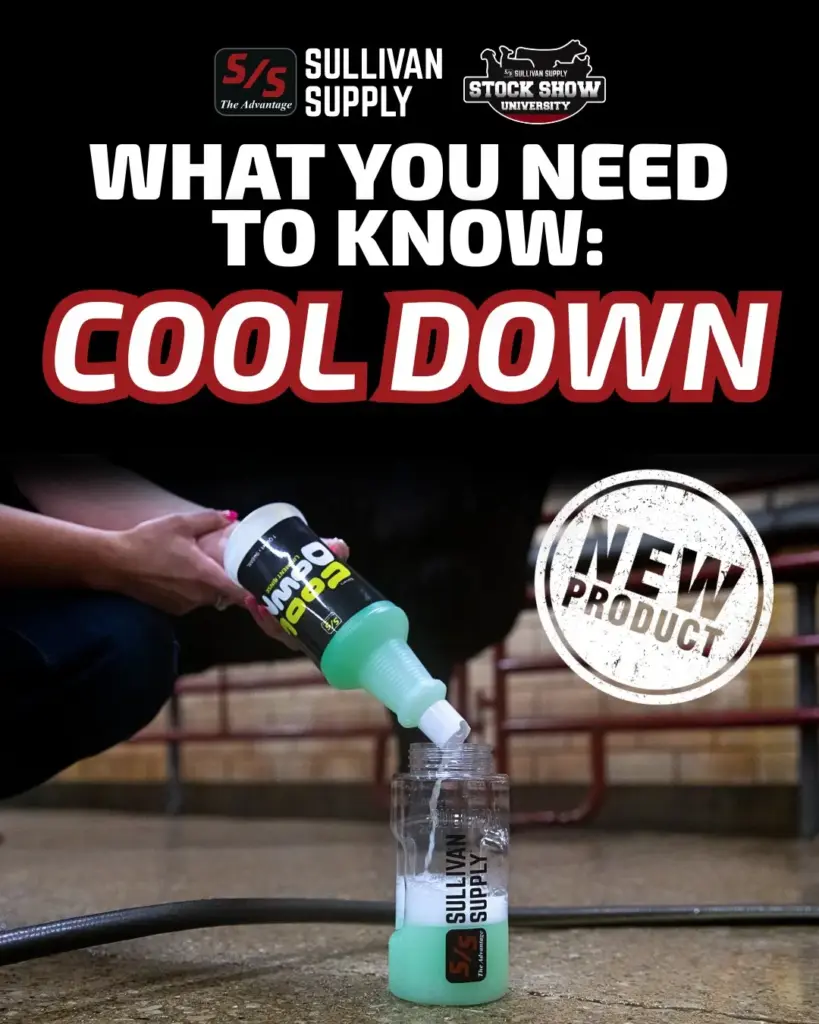


 July 21, 2026When the temperatures rise, keeping your animals comfortable becomes just as important as keeping them clean. Sullivan's Cool Down is…
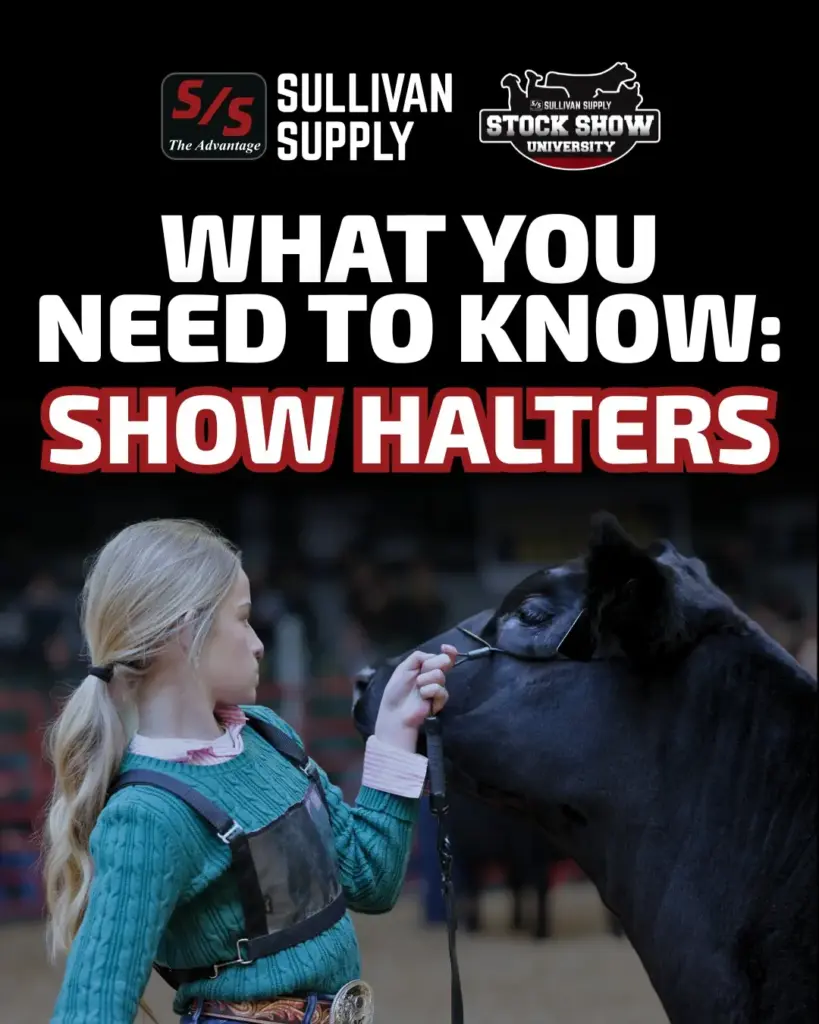
- July 20, 2026A proper fit on a show halter is a small detail that makes a big difference in the show ring.…
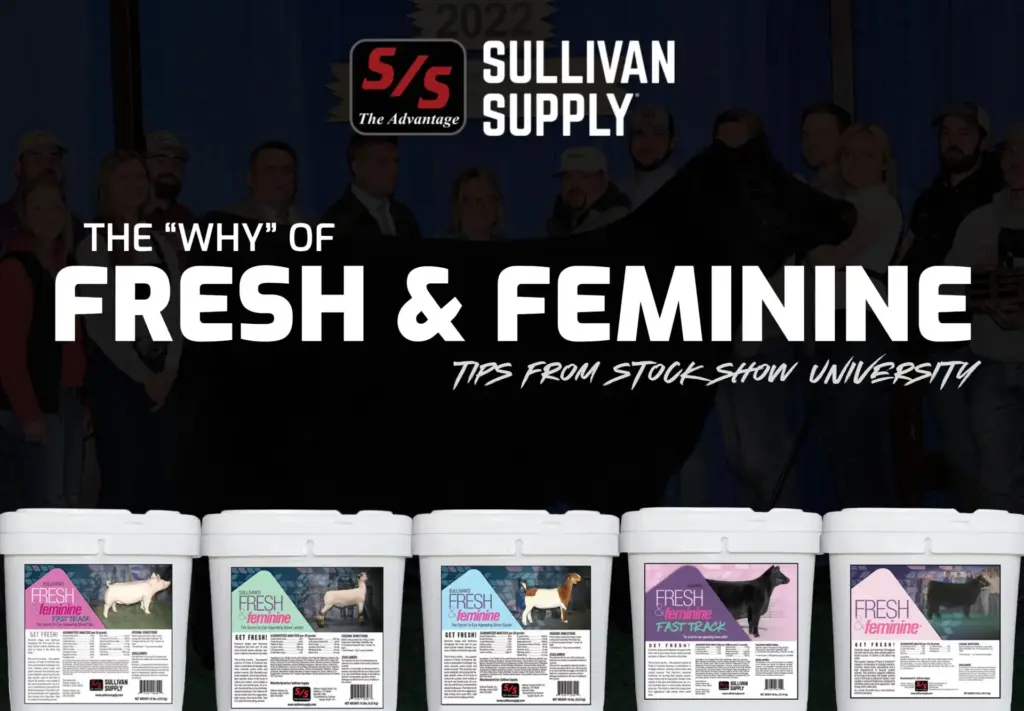
 July 2, 2026A question that is frequently asked during Stock Show University® events is why would someone need to feed Sullivan’s Fresh…
- July 2, 2026In today’s show ring, achieving a complete, natural look takes more than precision clipping—it takes products that elevate hair quality…
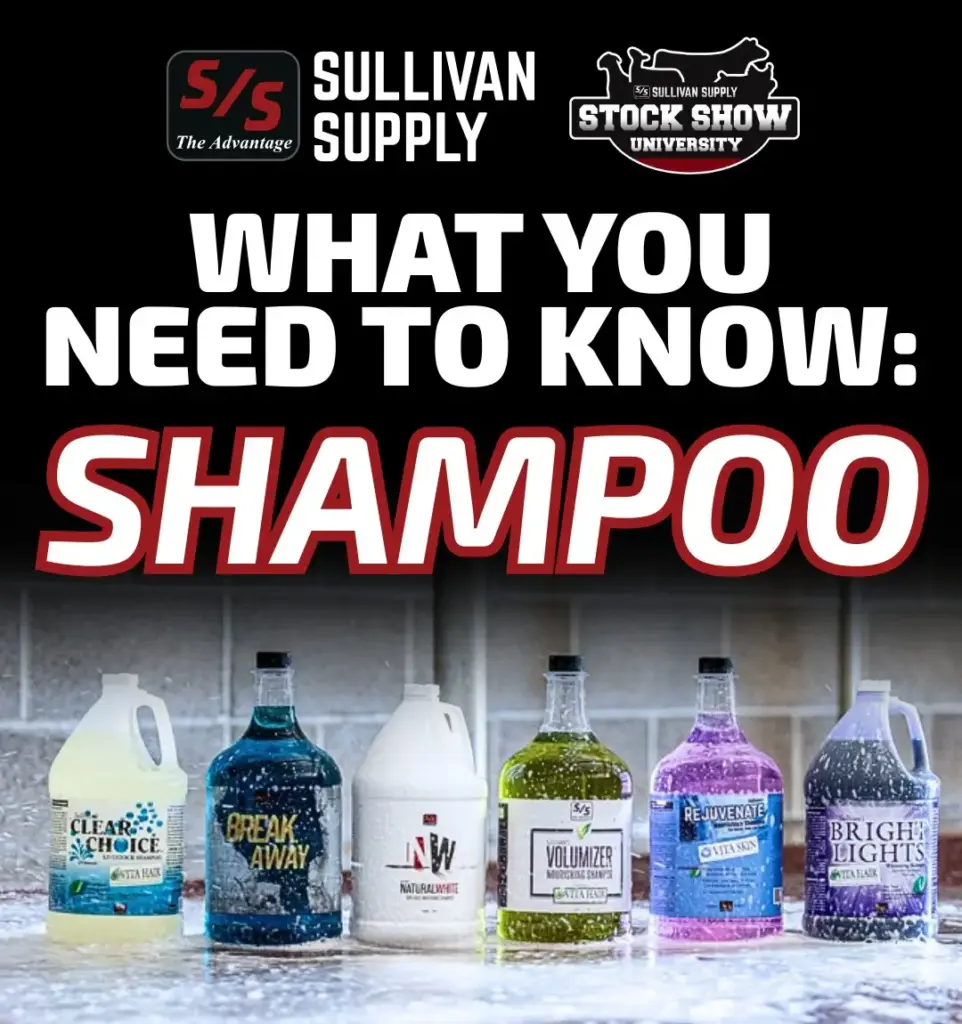
- July 2, 2026By: Tess Mittag, Manager of Stock Show University® Washing your animal is about much more than getting them clean—it’s the…
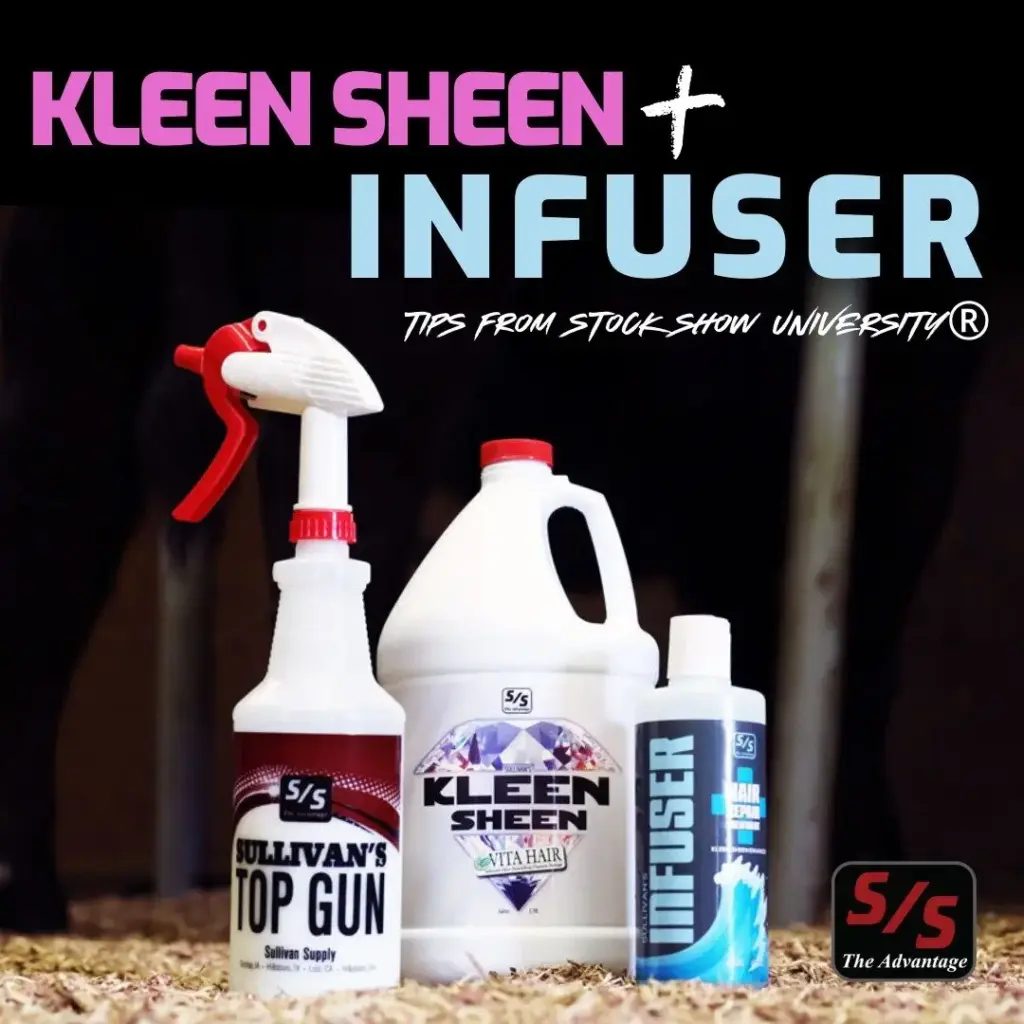
 July 2, 2026By: Tess Mittag, Manager of Stock Show University® A successful daily care routine program starts in the wash rack. At…
- July 2, 2026By: Tess Mittag, Manager of Stock Show University® Protecting your clipper blades is critical because they are one of the…
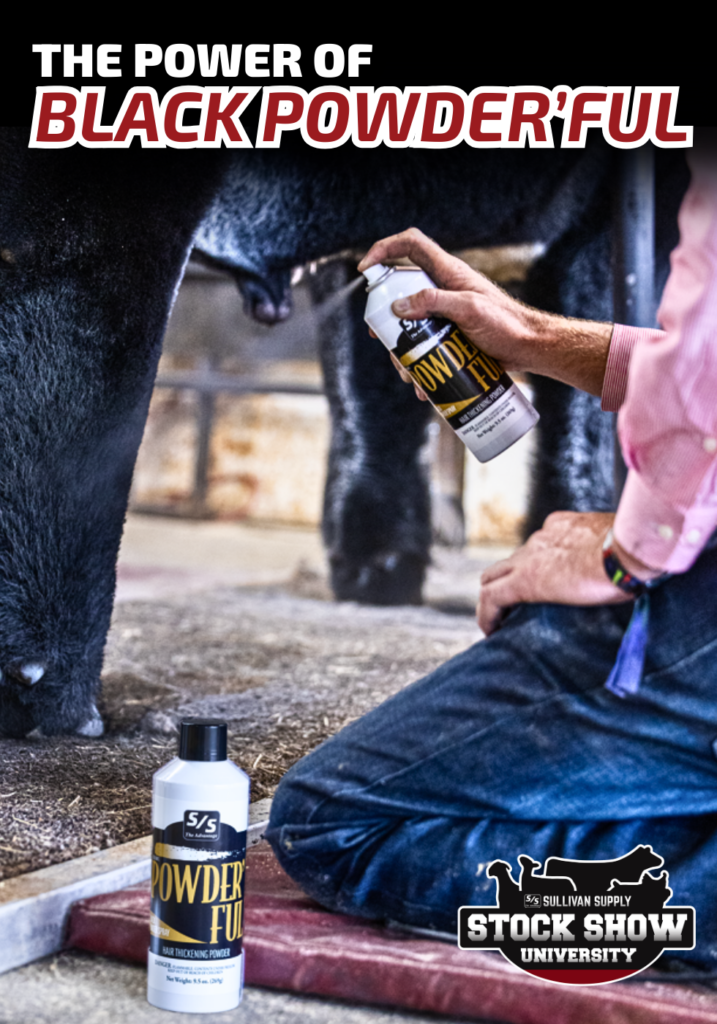
 January 2, 2026By: Tess Mittag, Manager of Stock Show University® Let’s admit it—one of the most exciting things to happen at a…
- January 2, 2026Article by: Tess Mittag, Manager of Stock Show University® Does your animal’s hair feel dry, brittle, or lacks luster and…
 January 2, 2026When fitting, building the legs and belly line is an important concept. During this “Tips from Stock Show University®” article,…
 January 2, 2026Maintaining healthy, full, and properly trained hair is a cornerstone of livestock show preparation. Among the most trusted tools for…
 January 2, 2026Clipping is a critical part of livestock presentation, and using the correct blade can make a noticeable difference in both…
Wishlist
Wishlist items are stored here for up to 30 days.